Saturday, 31 December 2011

Hopes for the new year


The blogs are filled with people wishing others a happy new year and planning ahead for 2012 now. Some are sending out greetings to their readers and followers, others are making resolutions and preparing for their own personal challenges or inspirational mottos for the new year. I was just going to publish the photos today and let that be my greeting to you on this day, but then I just read this new year's wish from Neil Gaiman on his blog and thought it really applied to us beaders and jewellery makers -- in our personal lifes as well as in our creative pursuits -- so I wanted to share it with you:

"I hope that in this year to come, you make mistakes.


Because if you are making mistakes, then you are making new things, trying new things, learning, living, pushing yourself, changing yourself, changing your world. You're doing things you've never done before, and more importantly, you're Doing Something.


So that's my wish for you, and all of us, and my wish for myself. Make New Mistakes. Make glorious, amazing mistakes. Make mistakes nobody's ever made before. Don't freeze, don't stop, don't worry that it isn't good enough, or it isn't perfect, whatever it is: art, or love, or work or family or life.


Whatever it is you're scared of doing, Do it.


Make your mistakes, next year and forever."


You can read his whole new year's eve post at Neil Gaiman's Journal.

*

Now I'm going to enjoy the last six hours of this year. And I hope you're doing the same. See you next year!

New Year's Eve

new year's eve007


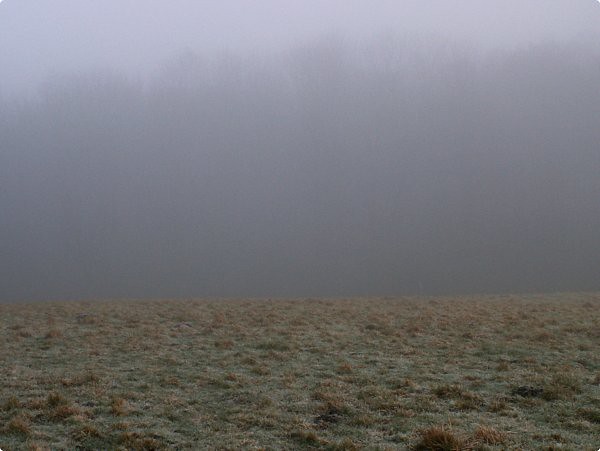
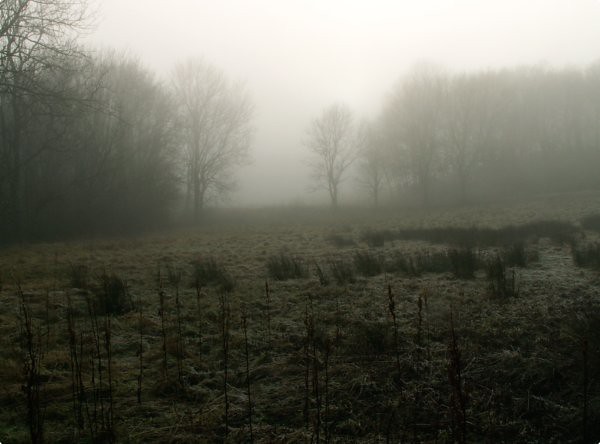
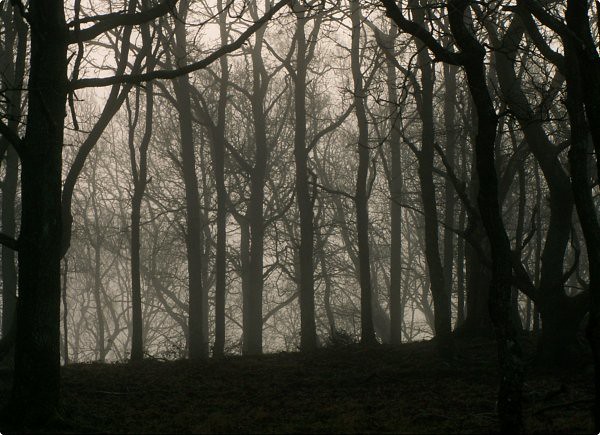
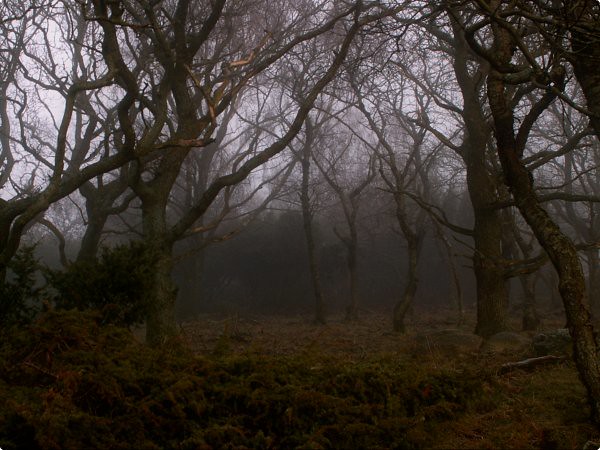
A couple of years ago, I began a new tradition: to photograph my surroundings on the afternoon of every December 31st. In 2009 it looked like this (with the big, pink moon rising on the lavender blue sky) and last year -- which was a very white winter -- it looked like this. Today the weather was as it often is on new year's eve around here: foggy. Last night the sky was clear and starry, but tonight when everybody -- more or less -- want to see the fireworks, it's of cause foggy. Foggy and frosty -- which means you can get some nice photos:


new year's eve006

new year's eve005

new year's eve002

Because of the fog, I didn't go for a long walk. Just around the garden and then up on the hill.


new year's eve010

(Above picture might give you an idea of how thick the fog were at times. The colours makes it look like it's about to snow -- or, had it been summer, a thunder storm about to come -- but that's not the case. Pretty realistic colours, but different from the rest in many ways.)


new year's eve013

new year's eve001

new year's eve008

new year's eve016


...and then there were some photos with a bit more colour than the ones above:


new year's eve011

new year's eve009


new year's eve012

new year's eve015

new year's eve014


Happy New Year!

Friday, 30 December 2011

Working with stick pearls...


I bought these biwa pearls -- or, more correctly, stick pearls -- ages ago. They were on sale and I liked both the colours and the shape. Very autumnal, which is something I'm drawn to and often find inspirational. But, alas, so far I've not even used one pearl on that strand. Especially silly considering I've even written this post on stick pearl jewellery projects to inspire others...

Maybe I should just pick out twelve of the most challenging -- and perhaps most forgotten -- "old" beads or other components/supplies in my stash and label them each with a month, from january to december. Sometime during the course of each month I have to use the strand/bag/hank/spool/box -- all of it or some of it -- labelled with the month in question. Or perhaps pick out 24 things and combine them two and two as a monthly variation of a muffin tin challenge [but with the notion that I can add other things freely to the two items assigned to each month]?

Yes, perhaps I should do that. It's a shame, really, to just have these lovely pearls tucked away, collecting dust in a bead tray, when they could make fab jewellery. I know it's not the first time I talk about challenging myself this way, but then forgetting about it.* Perhaps New Year will be a good deadline for actually comitting to such a challenge once and for all?


* = Doesn't apply to the Tangeringe Tango "challenge" -- I've at least one WIP for that one right now and have selected beads and fibre for some more. Including an idea for this gimp cord.

WIP: embroidery on filigree


Here's another current WIP (work in progess) I've been playing around with. My idea was to embroider with cotton floss on a piece of cast filigree sort of in the same way you can use jewellery components like these for embroidered jewellery. (That type of components can also be used for beading and just plain odd things.)

This filigree is cast and has less sharp edges than several of my thin stamped filigrees so I hope it's easier on the soft thread -- my biggest worry, embroidering on metal, is that the hard edges will wear down the embroidery threads.

This is a WIP rather than a finished piece by now mainly because I've got no idea what to embroider: what colours to use, what pattern to create, what other stitches (if any) to use. It's just a doodle and I haven't got an inkling how I want to finish it. Guess it could be left as it is, but I want something more -- though without totally obscuring the pretty pattern in the filigree. And preferrably it shouldn't have any beads as it's not meant to be a bead embroidery.

Well, well... no idea when it'll be finished, but hopefully soon. And perhaps I'll get some ideas from the Take a Stitch Tuesday challenge, which begins already next week (yes, it's almost 2012 already!).


*

If you're interest in seeing what the filigree looked like before being embroidered (not that it's covered up that much -- yet), here's a pic from the shop I got if from, Perles & Co. (You can click on the pic to go directly to the product page for a bigger photo.)

Round Filigree finding 46mm black nickel tone x1

Tuesday, 27 December 2011

Violet cider


What do you do when you have a bottle filled with beverage in a pretty colour and decorated with nice florals? Well, you begin to take photos of it...


This is a bottle of violet cider (apple cider with sweet violet flavour and food colouring), a limited edition by Herrljunga to celebrate their 100th anniversary. I bought it some time ago, mainly because I like violets so I was curious to give it a try. Plus the colour is pretty. 

Below, you can see more of what the bottle looks like (when you don't take photos of the plastic label through the bottle).


Sunday, 25 December 2011

Dagger flower tutorial


*Instruktioner på svenska finns HÄR*


So here's the English version of my "christmas gift" to my blog readers, my second dagger flower tutorial. These instructions are just for the flower, not a whole piece of jewellery -- I will leave it up to your own imagination, how to use it and incorporate it in a whole design. As always I'd love to see what you make with my tutorials so do feel free to post a link or e-mail me if you want to show me what the tutorials on this blog has inspired you to create.

If you like beading with dagger beads, don't miss my other bead flower tutorial for the Dagger Flower Drops.

This flower was developed from my dagger-and-lentil flower, which you can read more about here. One of my original inspirations was a free lentil flower tutorial at Beads Mania -- if you like cute little bead flowers, be sure to check that one out.

*

Supplies for one flower:

10 daggers, 16 mm
5 fire-polished drops, 7 mm
5 11/0 seed beads
Beading thread (e.g. K.O. or Fireline)

Tools: 2 beading needles, scissors

Tekniker: 2-needle right-angle weave/cross-weaving, surgeon's knot

*


1. Cut a comfortable length of thread (e.g. 40 cm). String one drop and two daggers as in the photo and centre on the thread.


2. Cross the threads through a dagger bead.


3. Continue stringing the remaining beads as in the previous step. Pull the threads to tighten the tension after each crossing. It's not always easy to keep the tension tight, but it's ok as you will remedy this later. At this point, it's mostly to keep the beads from tangling or swirl.


4. Make sure all daggers point in the same direction. If a dagger is trapped on the wrong side, loosen the thread tension, push the bead back to the correct position and tighten the threads again.


5. When the last drop and dagger has been strung, cross the threads through the first dagger to form a circle with the daggers pointing outwards. Pull the threads and make sure they don't catch on any beads or that a beads get tangled in the rest.

Continue by passing through the next dagger with your right-side needle and through the next drop with your left-side needle. Pull the thread before stringing through the next dagger using you left-side needle. See illustration of the thread paths below.


 (As it's hard to take a picture of this step, I've chosen to show it with just four beads, equivalent to the beads strung in steps 1-2.)


6. Making sure the tension is tight, tie the two knots with a surgeon's knot. At this point, the flower will most likely feel a bit floppy (unless you used a very heavy/stiff thread). We will fix this in the following steps.


7. Take one of the threads back to the front of the flower by going through the dagger. Keeping a tight tension, circle through the drop beads several times until the flower feels rigid and the beads are nested tightly together.


8. Return the thread to the back of the flower. Move it aside so it doesn't get in the way of the other thread.


9. Pick up the other thread and sew throught the nearest dagger of the five that constitute the five back petals. String one seed bead and go through the next dagger.


10. Repeat the previous step until you come full circle and then continue circling through the dagger and seed beads until the flower feels stabile. As before, be sure to tighten the thread as you go along so the flower firms up. Exit the beads when next to the first thread.

Knot the threads with a surgeon's knots. Finish by going through a couple of the beads before cutting the threads.


11. You flower is now ready to be used.

 
Tip: You can also make a smaller flower using 11 mm daggers, 3,4 mm drops and 15/0 seed beads. (You can also use 6 mm smooth drops for the big flower, but I prefer the look of fire-polished drops.)

Saturday, 24 December 2011

Season's greetings

christmas


It's Christmas eve. Green as predicted as the snow washed away. I'm listening to christmas music, eating chocolate and eagerly awaiting the christmas ham (one of the few things I actually eat on the julbord). I thought I'd take a minute to wish you all a very merry christmas. And thank you so much, all of you who read, follow and/or comment on this little blog of mine. I really appreciate it even if I'm not always good at letting you know how much it means to me.

I hope you're having a lovely and peaceful holiday, enjoying the spirit of the season. Relax, remember to savour the good things -- the little things that can make the season magical and merry -- and drive carefully.


God jul!

Merry Christmas!

Recipe: Nutella chocolate


It's Christmas today and of cause I've had time to cook both traditional and less traditional sweets. This year, I experimented with Nutella -- not something I buy very often, but was inspired by all the American Nutella recipes on Pinterest -- and came up with this, a version of the peanut chocolate recipe. I see it as a tastier version of ischoklad. We used to do ischoklad every christmas when we were kids, but I never really liked it when I got older. 

This recipe has the same soft, melting character as ischoklad, but with more flavour and a less buttery feeling. If you want to avoid transfats and palm oil, you can use homemade Nutella, but not having tried it myself I can't say if the texture will be the same. There are several recipes for it online, just google "homemade nutella" and see which recipe you prefer. One simple recipe for chocolate hazelnut butter can be found here.

This recipe lists the exact ingredients I used, but you can use whatever chocolate you prefer -- certainly no need to use both dark and milk chocolate.  You probably want to avoid sweet chocolate as the Nutella is already packed with sugar. Unless it's for kids who wouldn't mind a mild, sweet chocolate taste.

*

Nutella chocolate

100-125 gram Nutella (or other brand of chocolate hazelnut spread)
125 gram dark chocolate 55-60 %
25 gram milk chocolate 36 %
½-¾ dl roasted and skinned hazelnuts (optional)


1. Chop the chocolate.

2. In a heat-resistant bowl, melt the Nutella and chocolate in a waterbath on the stovetop or in the microwave oven. Stir well to completely mix the ingredients.

3. Pour into mini muffin cups or ischoklad cups.

4. Add a couple of hazelnut to each cup if you want. You can also add the nuts to the chocolate before pouring it in cups if you prefer that (in that case, you might want to chop up the hazelnuts a bit first).

Store cool in an air-tight container.

*

Note: Hazelnuts can be roasted in a skillet on the stovetop or in a pan in the oven. Mine were roasted at 225 °C (437 °F) 5-10 minutes, stirring a few times during the process. Rub the cooled nuts with a towel to remove the skins. Roasted hazelnuts have a fuller taste and you don't get the slightly bitter off-flavour of the skins.

Thursday, 22 December 2011

Bead blog recap weeks 49-50

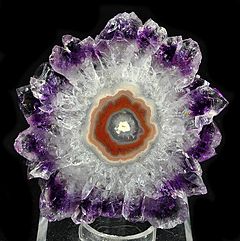
 Quartz-288985

Yes, I forgot the recap (= last two weeks of posts on my other blog, Manekis Pärlblogg) and then I thought it was better to wait until Christmas as I'll be publishing a "christmas gift" on it on the 24th. But then again, I will be publishing that on this blog too so I might as well do the recap today. Hope you find something you like there.

This time you can find everything from faux geodes and candy necklaces to tutorials on fishskin tanning and december challenges.

Do you believe in dragons?

More dragons

I promised dragons, but I've been a bit too busy to write what I wanted about it (been out photographing, baking, making christmas sweets etc). So instead I'll just show this initial "digital doodle" I made on the theme 'believe in dragons'. The dragons is close to invisible compared to my previous dragon doodle, but that's also the idea here: see the dragon if you want to or ignore him if you prefer realism to magic and fairy tales. But he's there if you just choose to look a little closer. (There's a little cartoon kitty too.)

I made a second version of this pic, which I'll show when I get around to write that text.

Wednesday, 21 December 2011

WIP: fuzzy bracelet


I made this bracelet last night. Had no plan, just twisted the "ribbon", but kind of liked the result. Right now I'm sitting here thinking whether I should add some beads, charms, fibre or anything else to it before finishing it with a button closure. Thinking of it as a stackable bracelet, intended to be worn together with a couple of other bracelets, and if so, I guess it doesn't need as much embellishment as if worn alone.

Have to think about it while picking out a suitable button for the clasp. Anyone else got any ideas or suggestions?

Snowy landscape


Well, we had a little sun around noon today so I took the opportunity to take some more photos. No masterpieces, but a way to enjoy the snow while it lasts. I wanted to get a photo or two of the birds, but with three kittens in tow the birds weren't keen to approach the feeding spot. Did get this pic of a nuthatch and great tit, though.


And some mixed photos:


And early tomorrow morning (our time), the winter solstice occur, meaning that the days now will get longer again. Together with the snow, the days not just feel longer but also brighter, compared to the grey darkness of November. So let's hope there will be a (moderately) white season this winter again.
Related Posts Plugin for WordPress, Blogger...